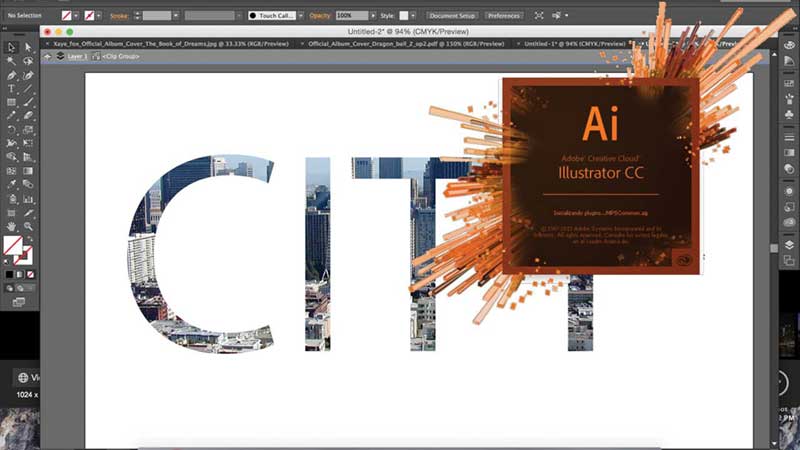
What is Clipping Mask
Clipping Mask allows you to be able to fill up an enclosed shape with a designed graphic or an image that perfectly fits inside such shape, irrespective of its complexity. Also, we can say that it is an object that masks other artwork with its shape. In effect, the artwork is clipped to the shape of the mask. When this happens, areas lying within the shape are the only visible. Here’s how to create a Clipping mask in Adobe Illustrator in the following few steps.
Step #1
Open your Adobe Illustrator
Step #2
You will immediately receive a prompting Illustrator to declare name and size of a file, together with other specifications of file/ document.
Step #3.
A panel tool appears in a vertical manner displaying the icon on the left side. It is important that you familiarize yourself with the functions of the icon.
Step #4.
At this point, you will be required to provide a photograph or an image that will be in the shape. This image or photo should be ethically sourced – either purchasing the right to use or crediting the artist.
Step #5.
Save the photo or image once you decide on it. Make sure you take note of the location you saved.
Step #6.
Back to Illustrator and Click >File > Place. This command presents a dialog box; now select the photo you intend to put in the program according to step 5 above.
Step #7.
Resize the image or photo you have selected to your desired specifications. This is done using the “handles” on the edges of the image.
Step #8.
Now it’s time for the image you selected to be nested by either using the pen tool to make a shape or choose from the preloaded shapes on the “rectangle tool”.
Step #9
Once the shape is nested, place it on the top of your graphic or image. This is the order of stacking.
Step #10
Select the shape and the image. To do this, hold your cursor down and one dotted triangle appears and that allows you to simultaneously select the shape and image.
Step #11
Right-click on the selected image and then click on “Make clipping mask”. Now you have a perfectly punched image.
Whether it is for an enhanced appearance or for emphasis, clipping mask Illustrator is a great way to make beautiful graphics.
FREE TRIAL! TRY IT NOW FROM CLIPPING PATH ASIA
SIGN UP AND GET A FREE TRIAL

ABOUT THE AUTHOR


0 Comments